
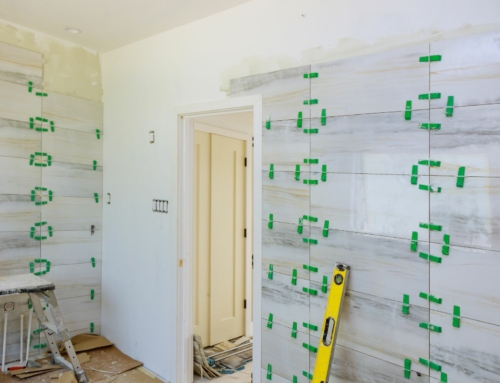
Technically, laying tile is relatively easy. However, laying tile and doing it well is a different story. For the most part, tiling projects begin by dividing the room into four even squares. Of course, not every project will have perfectly square or rectangular edges. Whenever a project involves tiling irregularly sized rooms, it can be challenging but not impossible. It just takes some time, patience, and a good strategy. Today, we are going to share a few tips to guide you.
Here’s what you need to know:
Divide the Space
You can divide your space into four even squares using a tape measure. Be sure to measure both the ceiling and the floor. Then, layout a grid with a thin marker line across the floor. Then fit the squares into the space you have.
The next step is to measure the length and width of the space. Use those measurements to determine how many tiles you will need to fill the space with tile. This will give you a good idea of how many extra tiles you will need for the edges.
Square the Layout
Next, you need to square the layout. This is where the real work begins. To square the layout, you will need to measure the edges to make sure they are as perfect as they can be. Then, you will need to measure the tiles themselves.
This is how you will know if you need one more tile than you initially thought. This can be a challenging task if the edge has a lot of irregularities. It is essential that you stay within the measurements.
This is your best chance at an exact layout. Remember, you should be measuring the tiles, not the grout lines. This is important because the tiles are what is going to be visible. It is the grout that will be filled in between the tiles.
If you have too many or too few tiles, you can adjust the layout to fit. However, remember that you will not be able to adjust it again.
Make Adjustments
The next step is to make adjustments. Once you take all the measurements, you can make adjustments if needed. You can subdivide certain areas to make them smaller or combine them to make them larger.
As you make the adjustments, remember that you want to make the room as square and rectangular as possible without sacrificing the details. Be sure to use your tape measure at all times, and then mark the measurements on your tile with a thin, permanent marker.
Measure to Fit
After making all the adjustments, you will have a crisply marked-out layout. This layout should be as perfect as possible.
Next, measure the sections on the floor and compare those measurements to the measurements on the tile. If the measurements are the same for both, you are good. However, if the measurements are not equal, you will need to adjust by cutting off a piece of the tile.
If you need to cut off a piece of a tile, mark the tile with a permanent marker and cut it off with a wet tile spatula. This is the only way to get a straight cut. Then, you will need to mark the sides that were just cut to show that they are not the same. This is how you will ensure the continuity of the layout.
Summary
To conclude, tiling floors in irregularly sized rooms can be a challenging project. However, with a few tips and tricks, you can make it far less frustrating. These tips will help you measure and mark the tile to ensure a good result. But at the end of the day, the experience will still be your greatest teacher.
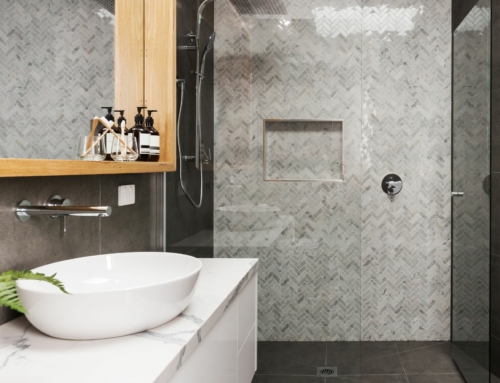
Miconi Marble & Tile has an unparalleled record for excellence in natural stone selection, design, and installation. We provide the highest quality materials and services to all our clients. Our main goal is to help you achieve the look you want for your home. Visit our showroom in San Rafael today to see more of our natural stone, tile products, and work.


