
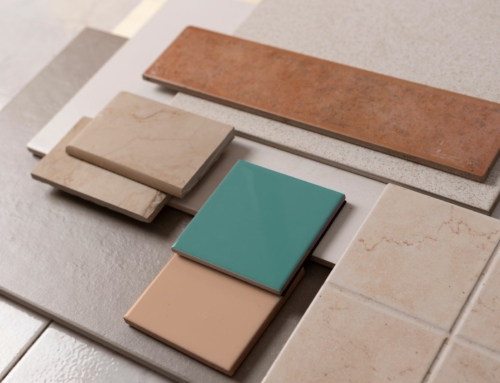
Updating your home’s flooring doesn’t have to be an extensive renovation project. Sometimes, it’s easier to commit to small, impactful changes to your living spaces. For example, updating your flooring with simple to intricately designed tiles is an excellent way to bring a new look.
While the process of installing tiles may look simple, there’s plenty of work involved other than simply laying down the adhesive and your chosen tile designs. For this reason, it’s vital to be particular about following the steps of the tile installation process.
Performing a Fast and Precise Tile Project
DIY tile installation can seem like an exciting idea, especially for homeowners fond of doing home projects themselves. However, tiles only look best through minimal mistakes from a steady hand. This is why you must use the right tools and perform the proper steps for a good end result. Otherwise, you’ll spend all afternoon redoing the same tile repeatedly.
In this article, we’ll share a three-step guide you can follow for a smooth and fast tile project.
Step #1: Treat the Subfloor
The subfloor is the layer underneath your finished floor, which is usually either wood or concrete. Unfortunately, these two materials tend to move, expand, and contract depending on temperature, soil movement, and temperature. Because of these reasons, the tiles you layer above them can distort or crack.
If you’re dealing with wooden subfloors, make sure the entire work area is flat. This includes removing nails and overlaying them with a cement backer board. It will introduce a level base for your tiles and avoid the complications of moving tiles or grout.
On the other hand, if you have concrete subfloors, treat them by removing old adhesives or patching cracks and holes. Next, remove any loose debris using a floor scraper or grinder to even out the layer. Afterward, you can install your tiles directly on the concrete subfloor.
Step #2: Set a Starting Point
Before you make permanent installations of your floor tiles, it’s best to minimize waste by carefully plotting your lay pattern. While you may have considered this before preparing the subfloor, it’s still a different matter in seeing the space you have in front of you.
Set the starting point in your room and measure the center. Doing so ensures an even application of your pattern, especially if you’re using a wide intricate design moving outwards. This shouldn’t matter as much if you’re alternating patterns. Since every room’s dimension is different, you’ll need to plot this by hand with pencil or chalk lines as guides.
Step #3: Lay Your Tiles
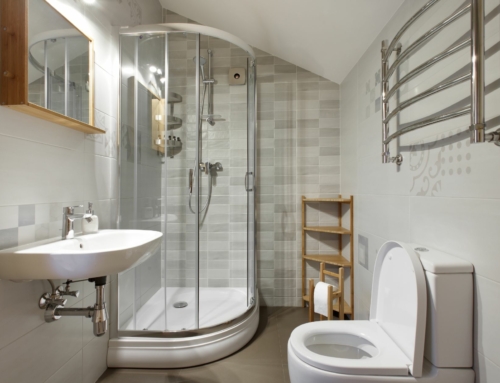
Once you have your starting point, you can now work piece by piece to carefully flip your tiles for gluing. Keep in mind that different rooms will have unique guidelines for tile installations. For example, you need to start with full tiles by the door if you’re installing tiles in bathrooms or laundry rooms. On the other hand, your tiles should transition to the next room after finding the center of your kitchen. As a general note, aim to have the most full-field tiles present, while custom cuts should be left around walls and obstacles or bulky furniture.
Conclusion
Since homes and surfaces can have different inclines and textures, the final result of your tile job may look off in some respects. These complications can occur due to potential defects in the products you purchase. This is why homeowners should only buy quality tiles from reliable suppliers.
No DIY tile installation project is complete without the right raw materials for the job. At Miconi Marble & Tile, we’ve expanded our products to match your home’s tile installation needs! If you’re looking for premium tiles in San Rafael, California, buy from our extensive catalog today!


