
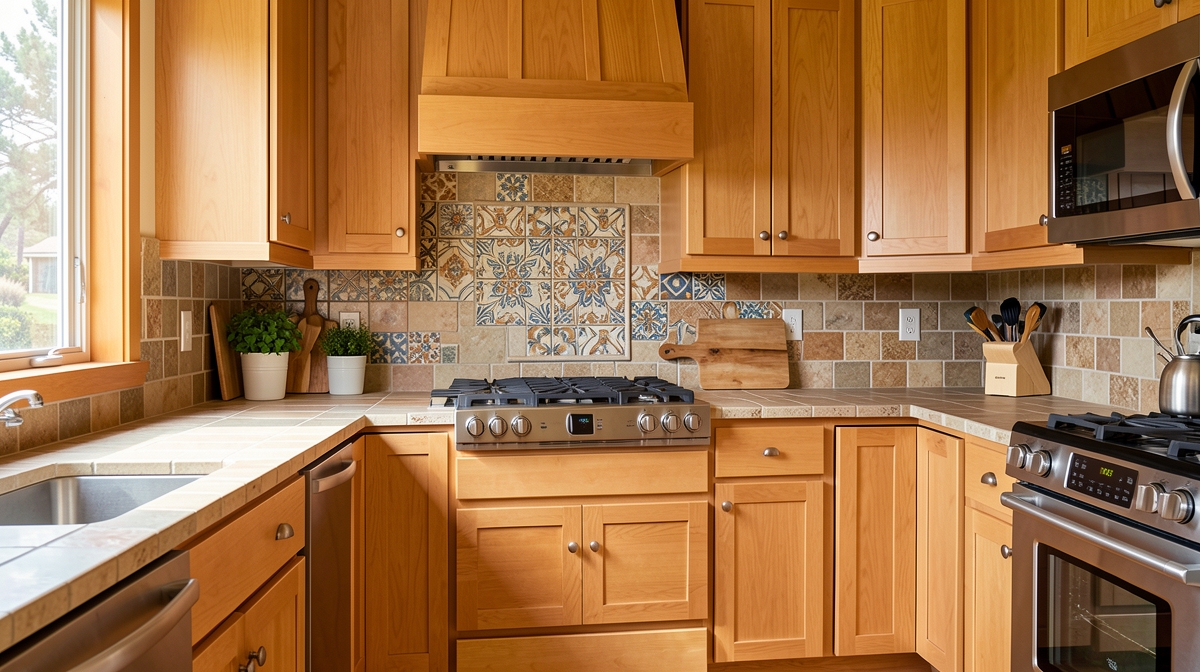
You’ve narrowed down the tile, and suddenly the grout becomes the hard decision. A single shade of grout can make ceramic tiles for kitchen countertops look crisp and tailored, or it can turn the whole surface into a busy grid you never intended. Because a countertop takes daily wear from cutting boards, sauces, coffee, and cleanup, the grout color you choose is as much a maintenance decision as a design one.
The good news is that picking a grout color doesn’t have to be a guess. There’s a practical sequence: decide on the look you want, weigh how the shade will handle everyday soil, match the grout type to your joints, and then test the color before committing to the whole counter. This guide walks through each step so the grout you choose still makes sense once the kitchen is back in use.
Step 1: Decide Whether Grout Should Blend or Contrast
Start with the overall effect, because every other choice flows from it. Grout that closely matches the tile makes the joints recede, so the countertop reads as one continuous surface. Grout that contrasts with the tile outlines every piece and turns the layout itself into a design feature.
- Blending grout suits ceramic tiles for kitchen countertops when you want a calm, seamless look, especially with larger tiles and tighter joints.
- Contrasting grout highlights the pattern, which can flatter handmade-look ceramic, square field tile, or a deliberate grid layout.
- A middle path — grout one or two shades darker than the tile — adds gentle definition without a strong checkerboard effect.
- If the countertop tile continues into a backsplash, consider how the grout color reads on both the horizontal and vertical surfaces, since lighting hits them differently.
These pairings are matters of taste rather than rules, so bring a sample of your tile when you compare grout chips. At our San Rafael showroom, Miconi Marble & Tile keeps ceramic tile and grout samples side by side, and our team can help you compare shades against your actual tile under different light.
Step 2: Weigh the Color Against Real Kitchen Use
A countertop is one of the hardest-working surfaces in the house, and grout color affects how quickly it looks tired. Manufacturer guidance is direct on this point: white or lightly colored grout joints show soil readily, and wide, light joints will appear dirty sooner than narrow or darker ones. Neutral gray, dark gray, or medium-colored grouts are less likely to show soil than a light-colored grout.
That doesn’t mean white grout is off the table with white ceramic tiles for kitchen countertops. It means you should choose it with open eyes and plan on more frequent cleaning, or shift to a warm gray or greige that keeps the bright look while hiding everyday marks better. If the counter sits next to a range or a busy prep zone, a medium tone earns its keep.
Also plan your purchase carefully. It’s customary to buy roughly 10% extra grout to allow for jobsite waste, and multiple bags or boxes should come from the same batch number, since minor shade variations can occur from batch to batch. Buying it all at once, from one batch, protects the color you worked so hard to choose.
Step 3: Match the Grout Type to Your Joints and Tile
Color longevity depends heavily on the grout formula, because a shade that stains easily won’t stay the shade you picked. Here’s how the main categories compare, per the manufacturers’ own technical guidance:
- Traditional cement grouts are porous and can be stained by common household agents — a real consideration on a surface that sees oil, wine, and tomato sauce.
- Polymer-modified, high-performance cement grouts add water, abrasion, and chemical resistance along with better color consistency than traditional cement grouts.
- Epoxy grout absorbs about 50 times less water than traditional cement grouts, has double the strength, and returns to its original color when cleaned rather than looking darker or dingy. It sets once its two parts are mixed, so it must be worked quickly in small batches, especially in warm conditions.
- Some single-product cement options, such as MAPEI Ultracolor Plus FA, span 1/16” to 3/4” joints without switching between sanded and unsanded, and cure denser and harder than traditional grout for better water and stain resistance.
Joint width matters too. Sanded grout contains 1/8” or larger grit and can be used in joints 1/16” or wider, while unsanded grout is limited to joints 1/8” or less. One caution: sanded grouts can sometimes scratch soft glazed tile or delicate finishes, so a small test area confirms the right grout type before you commit.
Step 4: Test the Color Before Grouting the Whole Counter
Printed color samples are only approximate guides. The actual shade and texture of installed grout depend on jobsite conditions, installation technique, tile characteristics, and lighting. Manufacturers recommend verifying appearance with a test area before the main installation, and on a countertop that advice is worth taking literally.
- Grout a small, inconspicuous test section using the exact grout, tile, and mixing ratio planned for the job.
- Follow the product instructions closely — grout can dry lighter or darker than expected from an improper liquid-to-powder ratio, washing too soon, or using too much water during cleanup, which can wash out pigments and leave a lighter shade.
- Let the grout firm in the joints, typically about 15 to 30 minutes at 70°F before sponge cleanup, though this varies with the grout, tile porosity, temperature, and humidity.
- Check the cured test area in both daylight and evening light before approving the color.
- If pigment shadows the tile surface, a grout release or sealer applied first may reduce staining — again, verified with a test patch.
For cement grouts, sealing isn’t required but is highly recommended; wait a minimum of 48 hours after installation before sealing. Finished joints should be uniform in color, fully compacted, and cured hard rather than powdery, and any joint where the counter meets a wall or a different material should get flexible sealant, not grout.
Choose a Grout Color You Can Live With
Grout is a small line item that shapes how the whole countertop reads. When you decide on blend versus contrast first, weigh the shade against real kitchen use, match the grout type to your joints, and test before you commit, you give the color its best chance of staying true through everyday cooking and cleanup. That’s a far better outcome than discovering six months in that white joints beside the stove weren’t the right call.
If you’re weighing grout shades for ceramic tiles for kitchen countertops in San Rafael or anywhere in Marin County, Miconi Marble & Tile can help you compare tile and grout samples together and handle the installation. Browse more tile and grout guides on our blog, then stop by the showroom to see the combinations in person.